Hi there! My name is Victor Menzing, aka VMG 206, and I am a programmer.
I started this site because I want to teach people how to build nice games without writing a lot of code.
Tutorials
Getting started with Unity Hub
Welcome to the first game tutorial! My name is Victor Menzing, and I am a programmer. I have a full-time programming job, and I love to program games in my spare time. I chose to create VMG because I want to share what I know with children, teenagers and adults who love to create and play games. So, let's get started!
We will use the Unity engine for our projects. Unity is a Triple-A game engine which has been used to build successful titles such as Hearthstone, The Elder Scrolls: Legends, and many more.
Let us begin our game creating journey by downloading, and then installing the Unity Hub, an application which makes it easy to manage various Unity projects and installations from within a single interface.
This means that if you have three different game projects, which have been built using three different Unity versions, you can manage them all from the Hub. You could even run two copies of the engine at the same time! The only downside is that Unity Hub will need quite a few terabytes of hard disk space; nevertheless, if you've got a large drive, this won't be a problem.
To get started, download and install Unity Hub from here:
https://unity3d.com/get-unity/download
Then, run it and install it; if everything works as expected, you will see a program window that looks similar with the one below.
It is true that unlike me, you won't have any projects in the Hub yet; don't worry, we'll get into that soon. By default, Unity Hub only installs the most recent version of the engine, which in my case is 2019.3.2f1. However, sometimes you may need to install older versions of the engine as well.
Why would you want to do that? Well, some Unity versions benefit from LTS (long-term support). If you intend to create a virtual reality project using the Oculus Rift S, for example, you want to work with an Unity version that will be supported (so it will work as expected) for a long time from now on, so you should choose the 2018.4.22f1 (LTS) version.
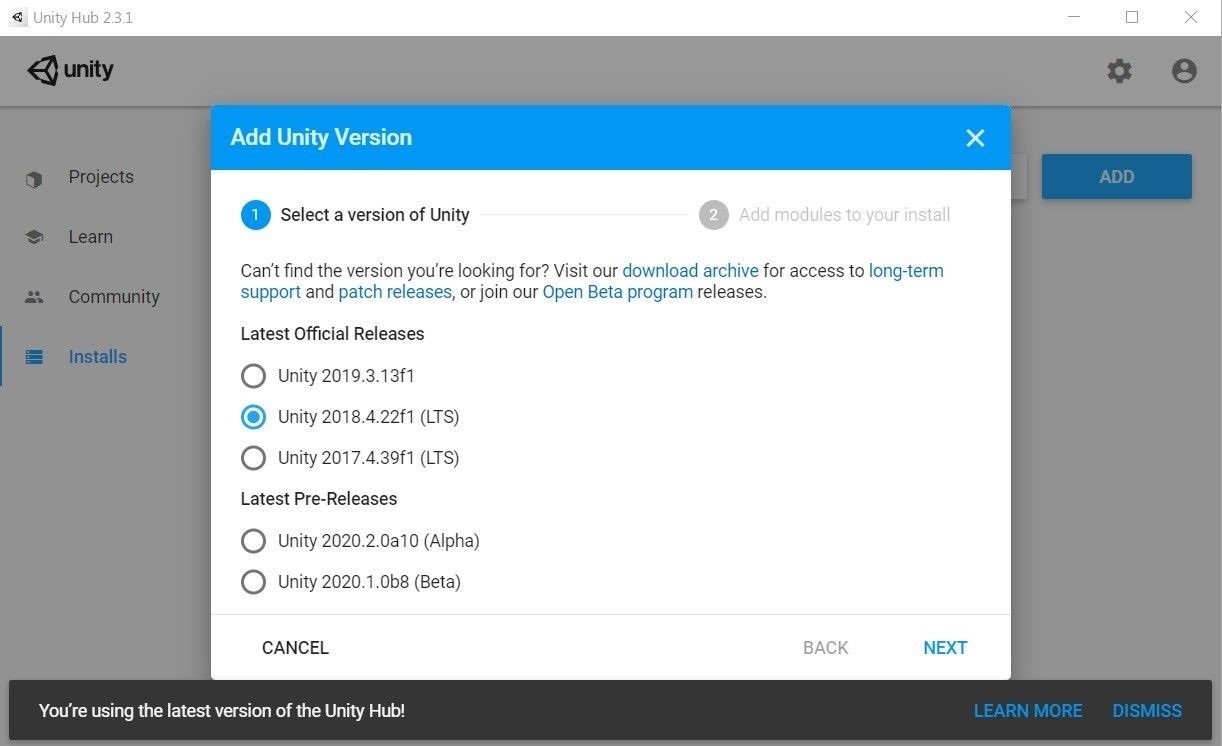
Let me show you how it is done before you start thinking that I am inventing these version numbers. Start Unity Hub, navigate to the "Installs" section on the left side menu, and then click the blue "ADD" button in the upper right corner of the window; you will be greeted by a window that looks like this.
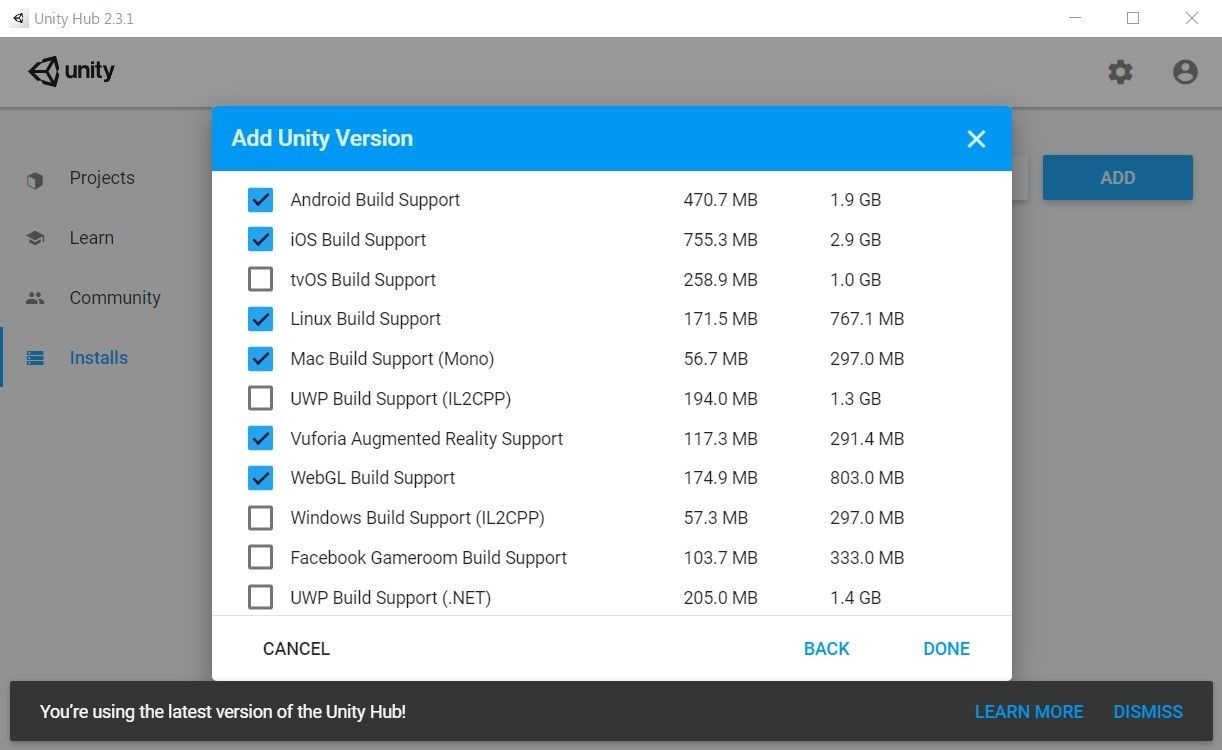
Choose the most recent LTS version, and then click "Next". If you plan to publish your creations on Android, iOS, Linux, Mac, etc. feel free to add the desired modules. Here are the settings that I use and recommend.
No matter what modules you choose, don't forget to scroll down a bit and install the Unity documentation as well. It's always selected by default; just make sure that you don't disable it accidentally.
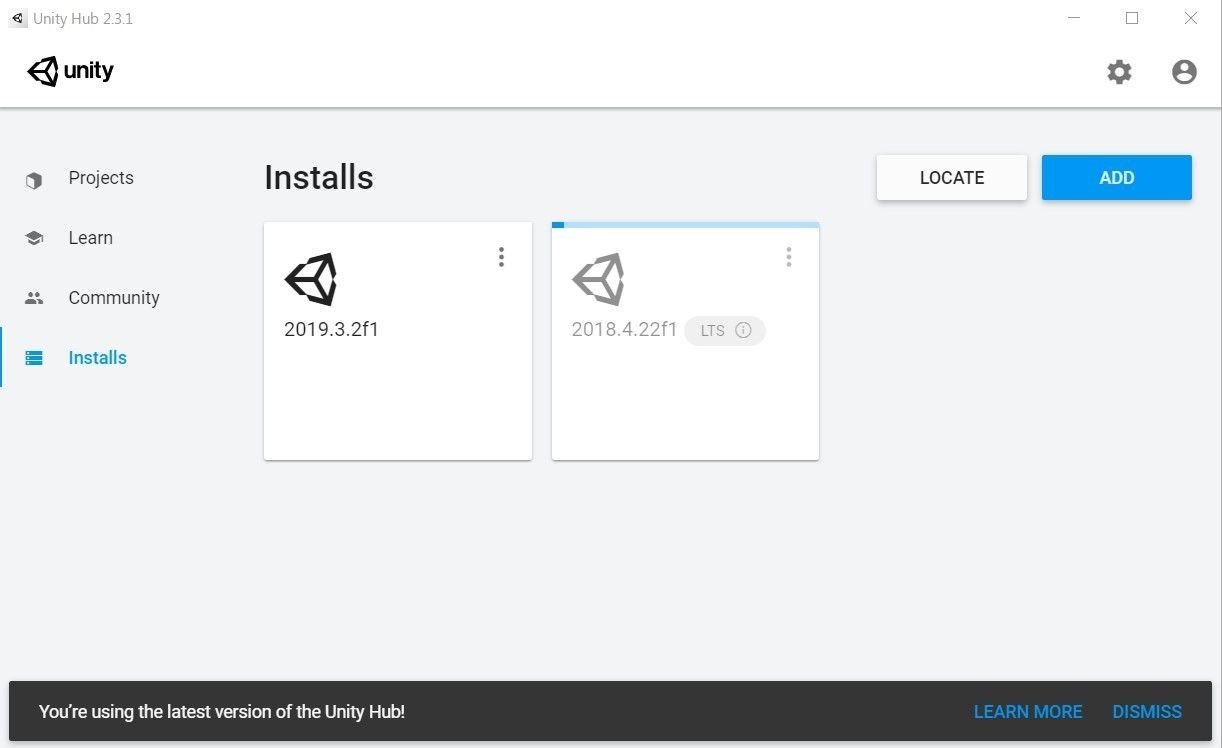
If everything works as expected, you will see that the new engine version has been added to the hub, and a blue horizontal bar will highlight the installation progress. Give it a few minutes to complete; we've got a few gigabytes of data that need to be transferred to the computer.
This wraps up the Unity Hub tutorial. We are almost ready to start creating exciting games. I don't know about you, but I'm really pumped up! I'll see you soon!