Hi there! My name is Victor Menzing, aka VMG 206, and I am a programmer.
I started this site because I want to teach people how to build nice games without writing a lot of code.
Tutorials
Working with Platforms and Doors
Hello again! I hope that you have already built a nice looking 2D level, because we will make heavy use of it in this tutorial. Start Unity Hub, and then open your previously saved scene.
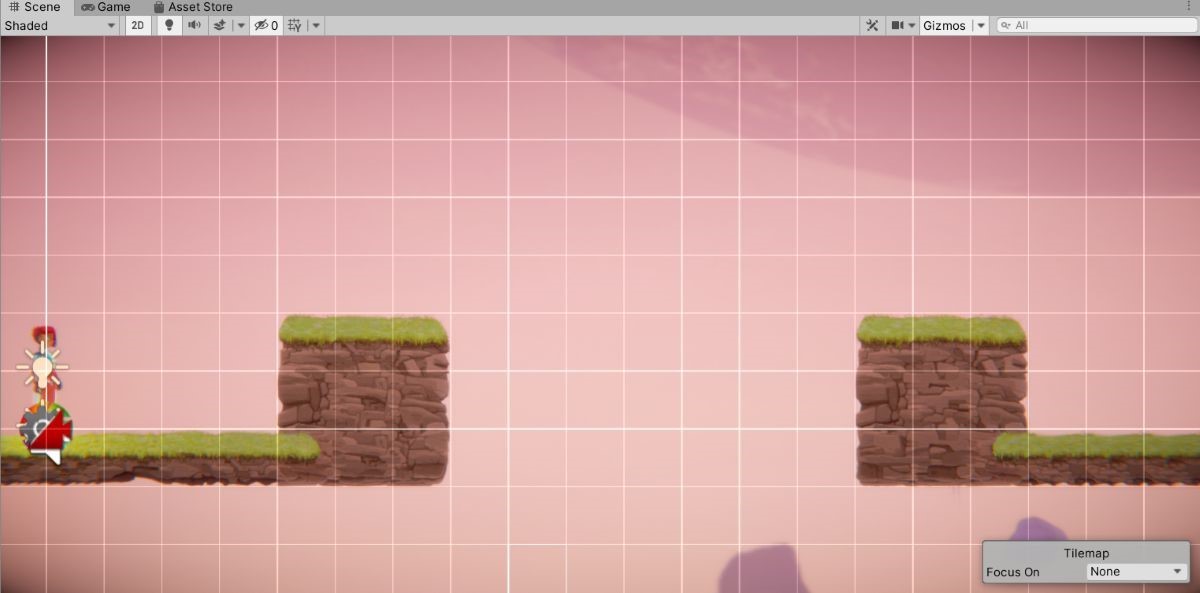
We will need to set up a level gap, and then create a horizontal platform which allows the player to move over the gap. To get started, fire up the Tile Palette tool if you need to, and then erase a few tiles and/or add a few tiles. Close the Tile Palette tool when you are done, and then select the Move Tool by clicking its icon, or by pressing the "W" key on your keyboard.
Here's how my modified level section looks like.
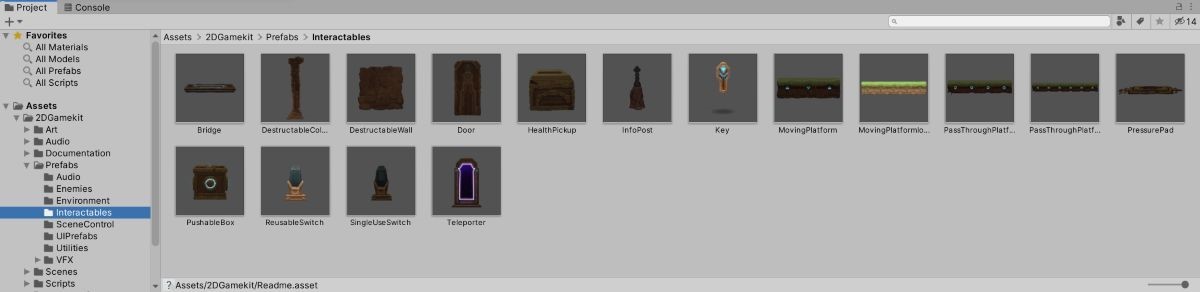
Locate the project window at the bottom of the screen, and then choose Assets -> 2DGamekit -> Prefabs -> Interactables. The editor will display a list of predefined prefabs with which our player can interact.
Click and drag the "MovingPlatform" prefab to the desired location in the Scene View. Don't worry if you don't get it right from the first try, you can move it anywhere you want to by making use of the Move Tool (press "W" on your keyboard to activate it).
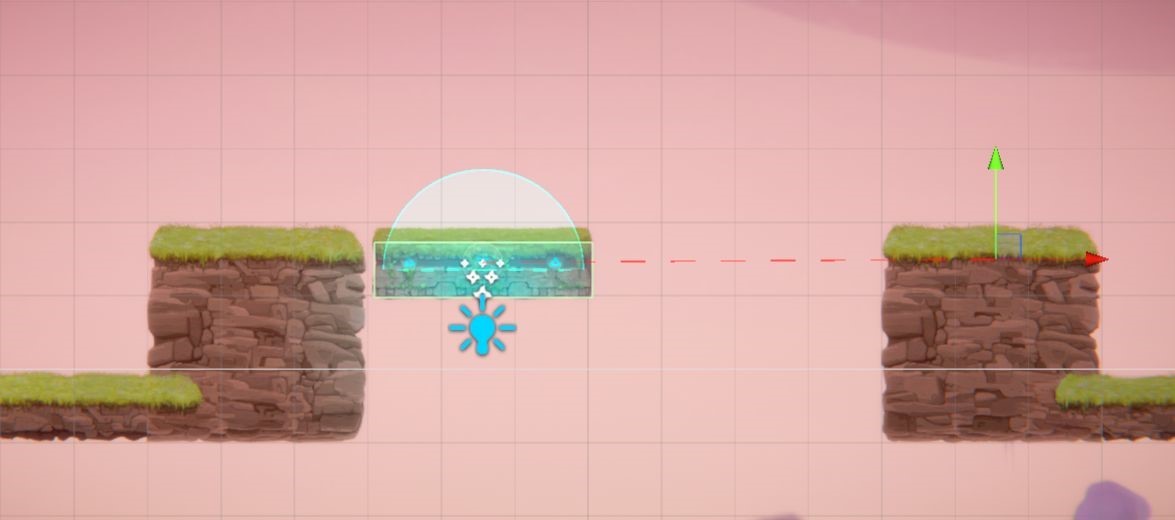
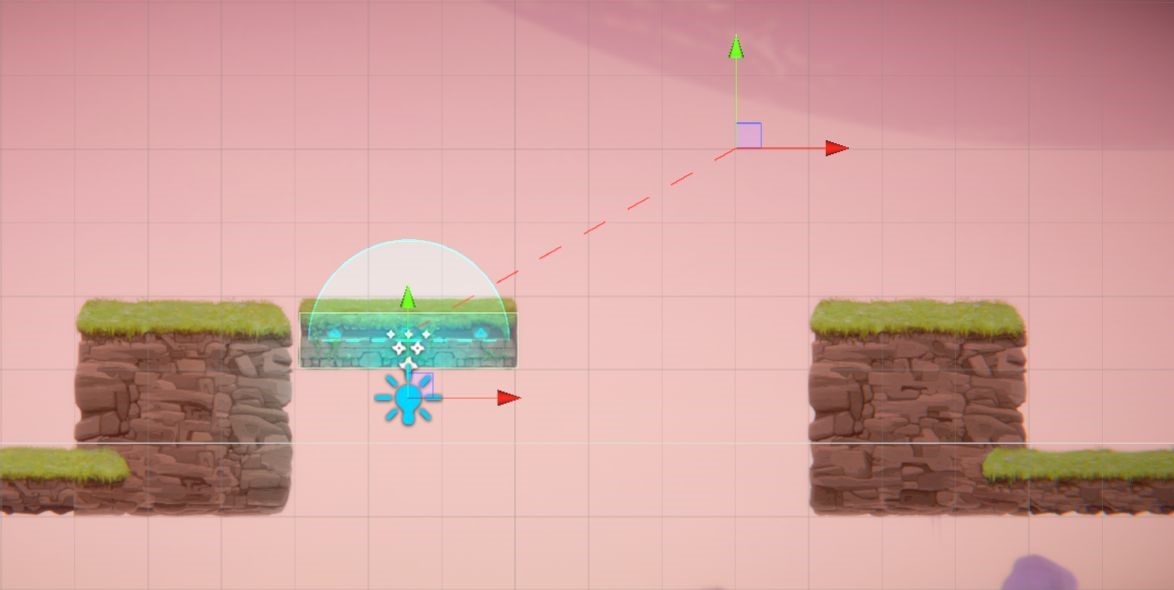
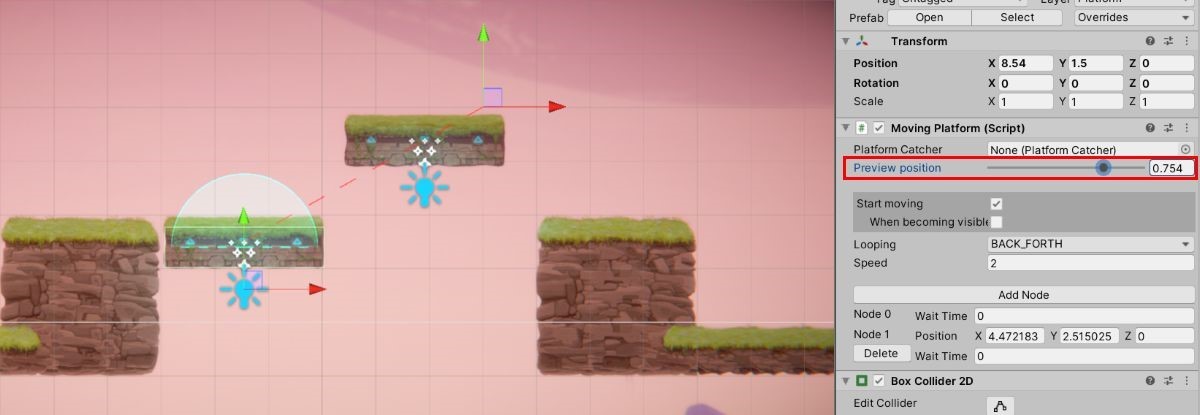
The red arrow shows the platform's moving direction; you can move the target on the x and y axis, allowing your platform to move vertically as well, if you want to. Here's how the trajectory of my platform looks like.
Fortunately, you don't have to guess its path; make sure that the MovingPlatform object is selected, and then use the "Preview position" slider in the Inspector to test it.
Press "Play" to start the game, and then use the platform. When you are done testing it, press the Play button again to stop the game.
Press "W" to choose the Move Tool, and then click the platform bottom to select it. Then, examine the Inspector window on the right side. You will see lots of parameters that can be tweaked: position, rotation, scale, looping mode, speed, etc. I don't have the time to go into all these details now, but feel free to explore them all. Don't worry about messing things up; you can delete the platform and then add a new one to the level anytime you want to.
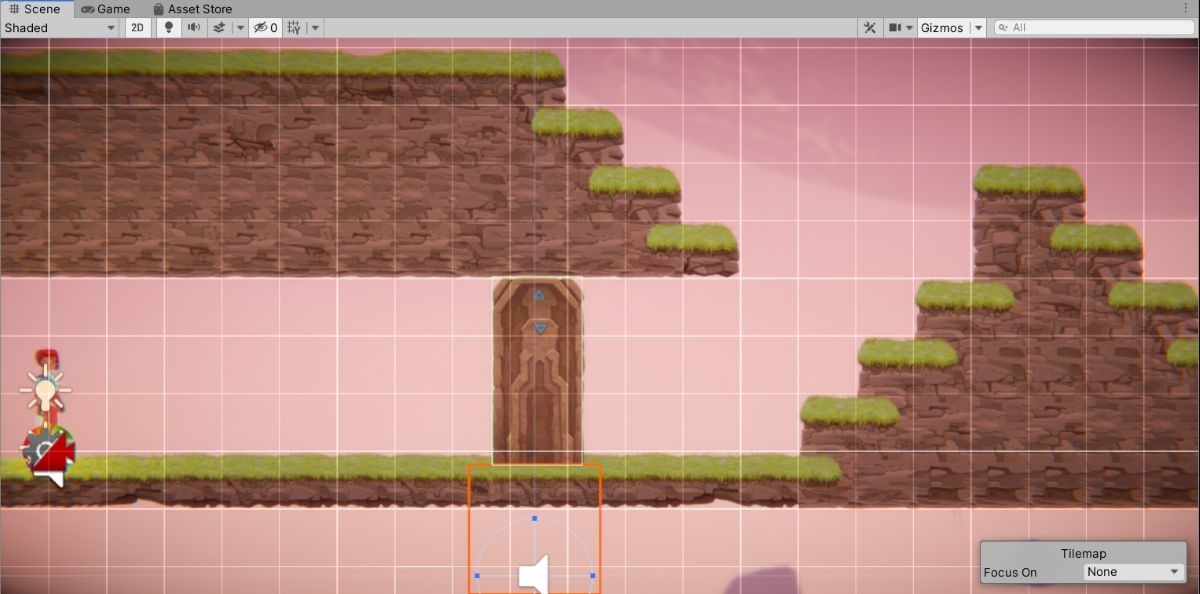
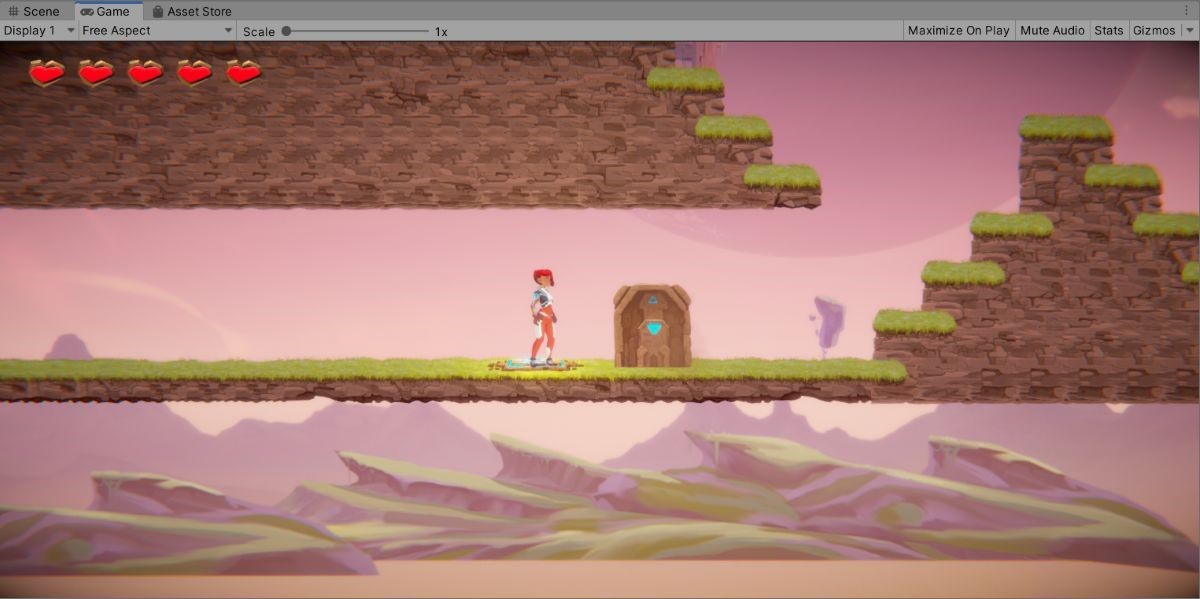
Okay, it's time to set up a door now. Unlike moving platforms, which have a mind of their own, doors are only triggered when the player steps onto a pressure pad. So, let's redesign our level, making sure that it allows us to place a door properly. To do that, drag the Door prefab in the level, and then modify it until it incorporates the door nicely. Here's an example.
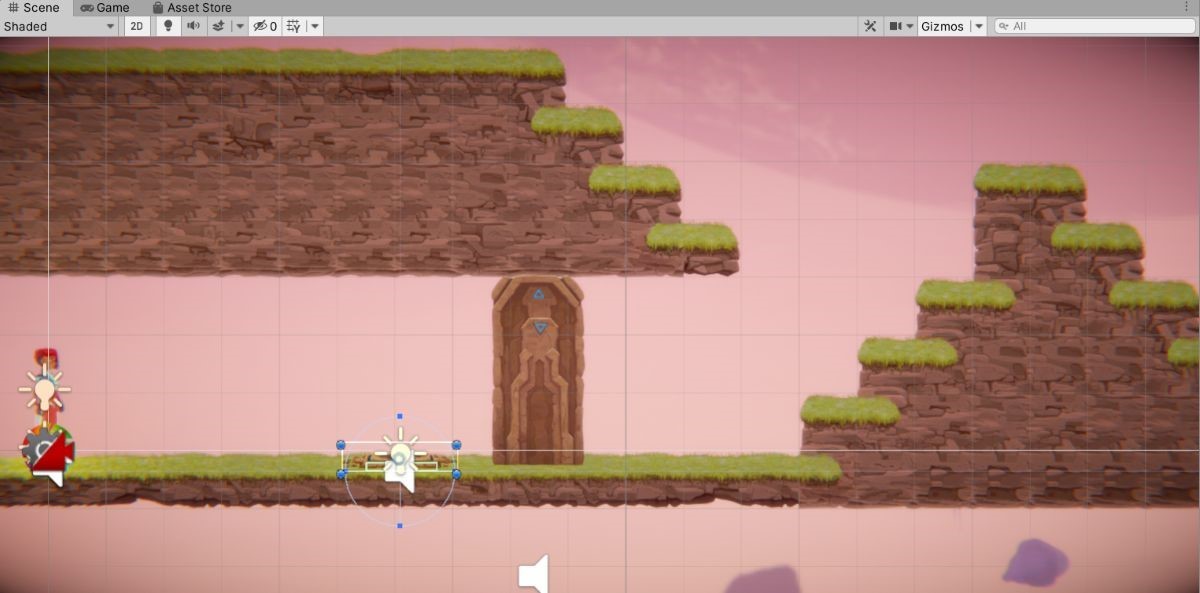
Then, click and drag a PressurePad to the scene; you should achieve something that's similar with what I have got in the image below. If something goes wrong, you can undo any step by making use of the Ctrl + Z key combination.
Run the game, and then step onto the PressurePad; it will light up and make a sound, but it won't open the door, because it isn't connected to it yet. To change that, select the PressurePad in the Scene view, and then take a look at its properties in the Inspector window, at the right side of the screen.
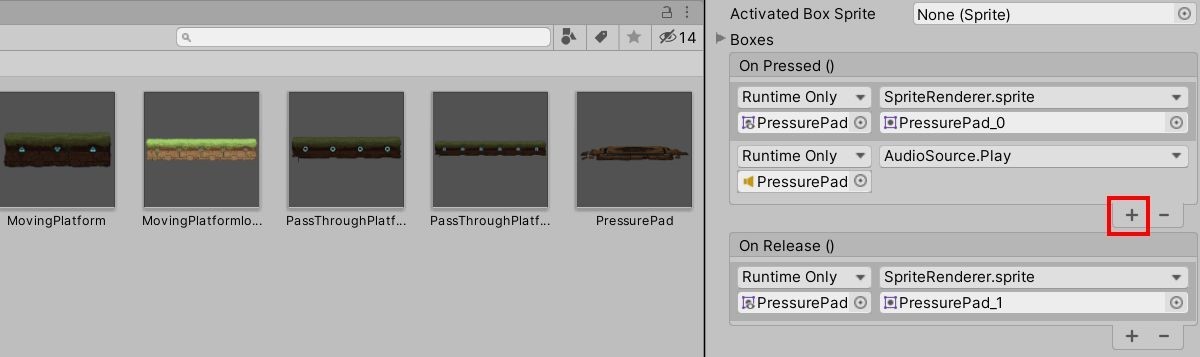
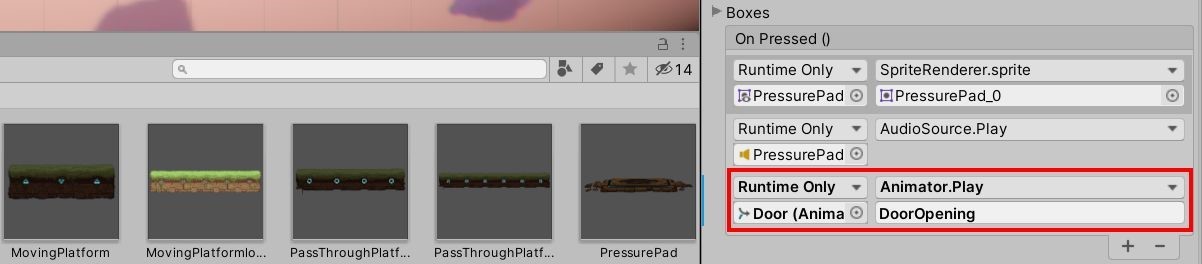
Scroll down to the "On Pressed ()" PressurePad section, and then click the little "+" button, which has been highlighted in the picture below:
Drag the Door from the Hierarchy window to PressurePad's "OnPressure" section. Then, assign the DoorOpening function to the pad. If everything went well, you should get something like this.
Save the scene, and then press the Play button. The door should start to open as soon as you step onto the PressurePad.
Well, we have learned lots of things this time! I will see you in the next tutorial, when we will add a bunch of fierce enemies to our level.